Crafting a Professional Brochure in Adobe InDesign
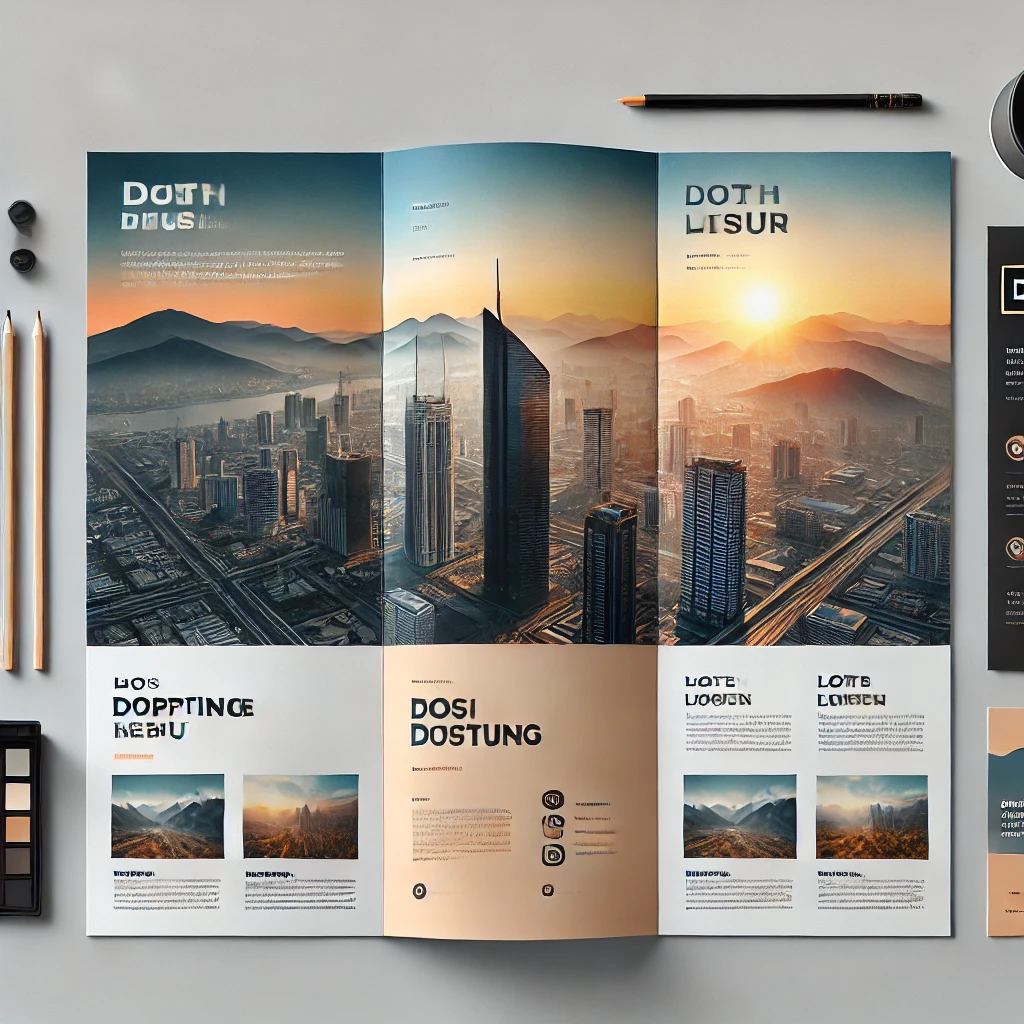
A brochure is a powerful tool for communicating information in a visually appealing way. Adobe InDesign is the perfect platform for creating a polished and engaging brochure. Here’s a step-by-step guide:
Step 1: Set Up the Document
- Open InDesign and create a new document.
- Select dimensions for a tri-fold or bi-fold brochure (e.g., 8.5 x 11 inches).
- Add margins and bleed settings to ensure accurate printing.
Step 2: Design the Cover Panel
- Use high-quality images and a bold headline to capture attention.
- Incorporate the company logo and a tagline.
Step 3: Organize Content for Panels
- Divide the inner panels into sections for clear communication.
- Use grids to maintain consistent spacing and alignment.
Step 4: Add Images and Graphics
- Import high-resolution images using File > Place.
- Position visuals to complement the text and enhance the design.
Step 5: Style the Typography
- Use readable fonts for body text and bold styles for headings.
- Apply Paragraph Styles to ensure consistency.
Step 6: Highlight Key Information
- Use icons, bullet points, or callouts to emphasize essential details.
- Include contact information, social media links, and a call-to-action.
Step 7: Add Backgrounds and Colors
- Choose colors that align with the brand identity.
- Apply gradients or patterns for a modern touch.
Step 8: Proof and Export
- Review the design for errors and check alignment.
- Export the file as a print-ready PDF with bleed and crop marks.
Conclusion:
A professionally designed brochure in Adobe InDesign can effectively convey your message and leave a lasting impression. By focusing on layout, visuals, and typography, you can create a brochure that stands out.
More Stories
Designing a Corporate Annual Report in Adobe InDesign
An annual report serves as a comprehensive overview of a company’s performance and achievements. Adobe InDesign allows you to create...
Crafting a Corporate Newsletter in Adobe InDesign
Corporate newsletters are essential tools for sharing updates and engaging with employees or stakeholders. Adobe InDesign offers the perfect solution...
Designing an Academic Journal in Adobe InDesign
Academic journals require a balance of professionalism and clarity to present research effectively. With Adobe InDesign, you can design a...
Designing a Modern Event Program in Adobe InDesign
An event program is a key element for guiding attendees and setting the tone of an event. Adobe InDesign is...
Designing a Product Catalog in Adobe InDesign
A product catalog is an essential tool for showcasing your offerings to potential customers. Adobe InDesign provides the ideal platform...
Designing a Striking Advertisement in Adobe InDesign
Advertisements are crucial for capturing attention and driving engagement. Adobe InDesign offers the perfect tools to design eye-catching ads. Here’s...


Average Rating