Crafting a Modern Magazine Layout in Adobe InDesign
Read Time:1 Minute, 28 Second
Creating a visually appealing and well-organized magazine layout is essential to engage readers. With Adobe InDesign, you can design a professional magazine with ease. Here’s how:
Step 1: Set Up the Document
- Open InDesign and create a new document.
- Choose dimensions suited for magazines, like 8.5 x 11 inches.
- Add margins, bleed, and columns to ensure proper layout structure.
Step 2: Design a Compelling Cover Page
- Use a bold title and large, high-quality images to attract attention.
- Include the magazine name, issue date, and a tagline.
- Add a barcode at the bottom corner.
Step 3: Create a Consistent Grid System
- Use Layout > Margins and Columns to establish a grid system.
- Align text and images to the grid for a clean and professional look.
Step 4: Add Typography and Text Styles
- Use Paragraph Styles to define headers, subheaders, and body text.
- Choose readable fonts and maintain consistent spacing.
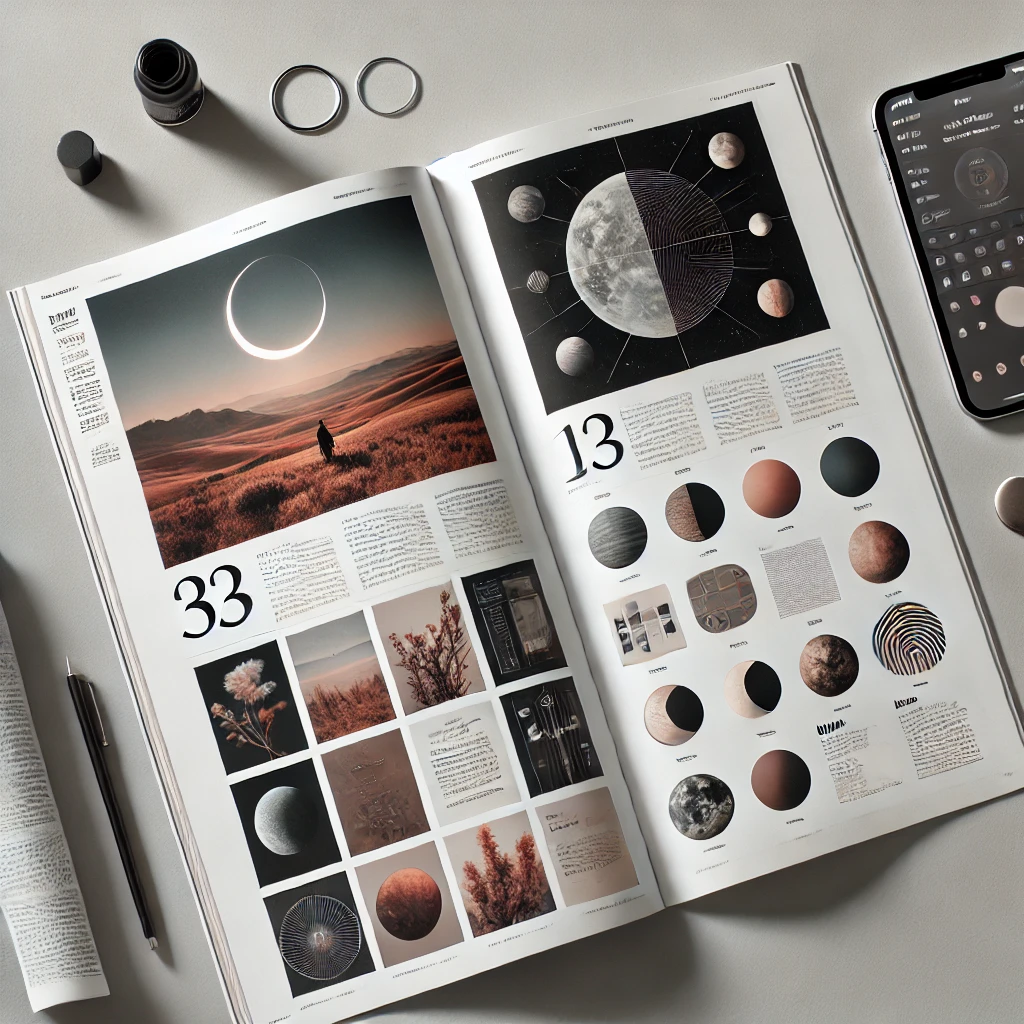
Step 5: Incorporate High-Quality Visuals
- Import images that complement the content using File > Place.
- Use full-page photos for dramatic effect or smaller images to support text.
Step 6: Design Article Layouts
- Create unique layouts for feature articles, interviews, and regular columns.
- Use bold headlines and introductory text to draw readers in.
Step 7: Add Callouts and Pull Quotes
- Highlight key quotes or statistics in larger fonts or boxes.
- Position these elements strategically to break up text.
Step 8: Review and Export
- Proofread the content and check alignment and color consistency.
- Export the document as a print-ready PDF with bleed and crop marks.
Conclusion:
A professional magazine layout in Adobe InDesign not only enhances readability but also creates a memorable visual experience. By focusing on structure, typography, and visuals, you can produce a magazine that stands out on any newsstand.
Happy
0 %
Sad
0 %
Excited
0 %
Sleepy
0 %
Angry
0 %
Surprise
0 %


Average Rating