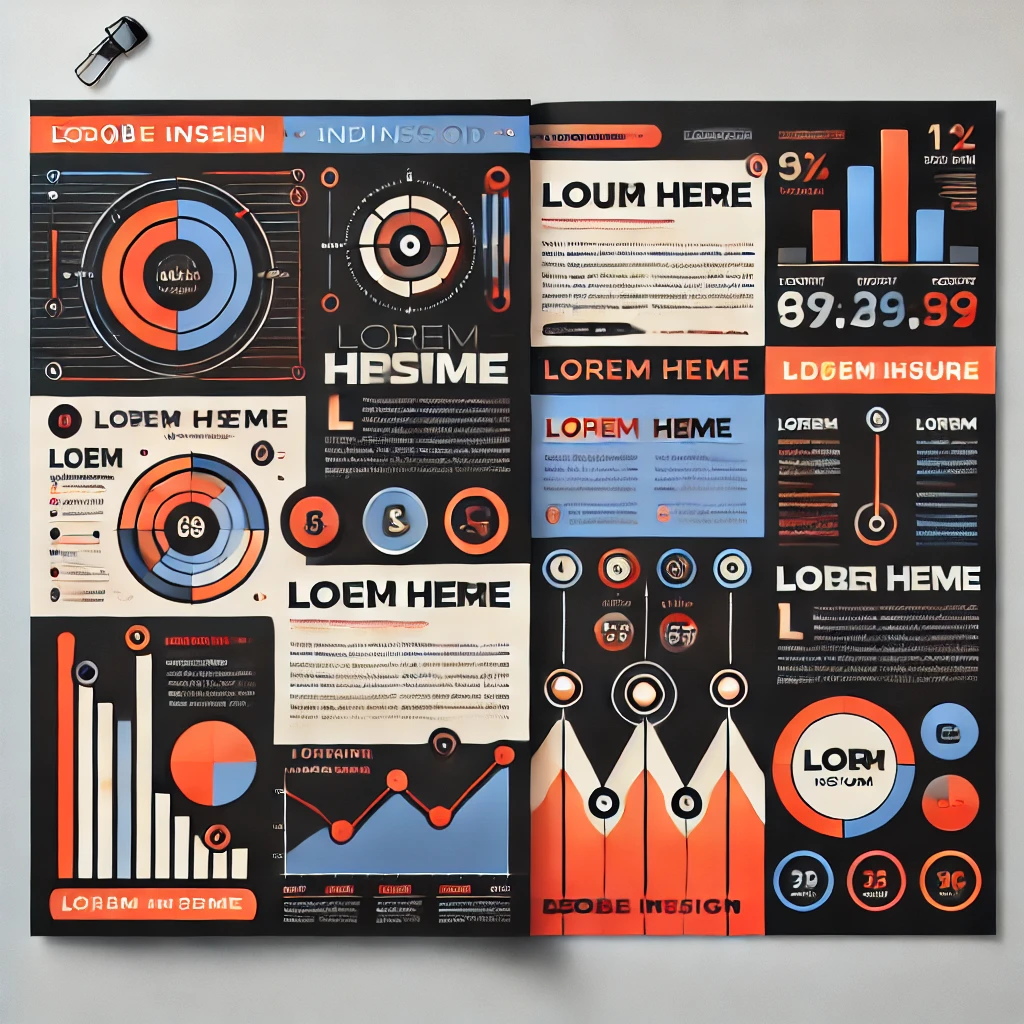
Creating an Eye-Catching Flyer in Adobe InDesign
Flyers are an excellent way to promote events, services, or products. Adobe InDesign makes it easy to design professional and impactful flyers. Here’s a step-by-step guide:
Step 1: Set Up Your Document
- Open InDesign and create a new document.
- Choose dimensions suitable for a flyer (e.g., A5, A4, or Letter).
- Set margins and bleed for print-ready designs.
Step 2: Add a Bold Headline
- Use the Text Tool to create an attention-grabbing headline.
- Select a bold font and position it prominently on the flyer.
Step 3: Incorporate Visual Elements
- Import high-quality images or graphics using File > Place.
- Arrange visuals to complement the headline and content.
Step 4: Organize Content
- Divide the flyer into sections for easy readability.
- Use text boxes to add details like event information, contact details, or special offers.
Step 5: Enhance with Shapes and Colors
- Use the Rectangle Tool or Ellipse Tool to create backgrounds or dividers.
- Apply vibrant colors from the Swatches Panel to draw attention.
Step 6: Include a Call-to-Action
- Highlight a clear call-to-action (e.g., “Sign Up Now” or “Visit Us Today”).
- Use contrasting colors or bold text to make it stand out.
Step 7: Proof and Review
- Ensure text is aligned and free of errors.
- Check that all elements are visually balanced and cohesive.
Step 8: Export for Printing or Digital Use
- Export as a high-resolution PDF for printing.
- For digital flyers, save in formats like PNG or JPG.
Conclusion:
A well-designed flyer in Adobe InDesign effectively communicates your message while grabbing attention. By focusing on layout, typography, and visuals, you can create flyers that make a lasting impression.
More Stories
Save 40% on Adobe Creative Cloud All Apps (Limited Time Offer)
🎉 Limited-Time Deal: Get 40% Off Adobe Creative Cloud All Apps. Pay only $35.99/month for the first year (annual plan, billed monthly)....
Crafting an Engaging Product Catalog in Adobe InDesign
A well-organized product catalog can showcase your offerings effectively and leave a lasting impression on customers. Adobe InDesign provides robust...
Designing a Professional Business Card in Adobe InDesign
A professional business card reflects your brand identity and leaves a lasting impression. Adobe InDesign offers excellent tools to create...
Designing a Modern Brochure Layout in Adobe InDesign
Brochures are powerful tools for communicating brand messages and providing information in a visually appealing way. Here’s how to create...
Designing an Engaging Newsletter Layout in Adobe InDesign
Creating an engaging newsletter layout is essential for effectively communicating information while keeping readers interested. Here’s how to design a...
Crafting a Cohesive Multi-Page Layout in Adobe InDesign
Designing a cohesive multi-page layout is essential for creating professional magazines, reports, or brochures. Adobe InDesign provides robust tools to...


Average Rating