
Article Title: Creating a Perfect Two-Page Spread in Adobe InDesign
Read Time:1 Minute, 29 Second
A well-designed two-page spread can captivate readers and convey information effectively. Here’s a step-by-step guide to crafting a professional spread using Adobe InDesign:
Step 1: Set Up the Document
- Open InDesign and create a new document.
- Specify the number of pages (at least two) and set proper margins and gutters.
Step 2: Define a Grid Layout
- Use the Layout > Create Guides option to create a grid for structuring text and images.
- Ensure the columns and rows are balanced for readability.
Step 3: Add Placeholder Frames
- Use the Rectangle Frame Tool to define areas for images and text.
- Align frames using guides for a polished look.
Step 4: Insert Text and Images
- Import high-resolution images using File > Place.
- Add well-structured text, such as articles or captions, using the Text Tool.
- Use appropriate fonts and sizes to maintain hierarchy.
Step 5: Apply Visual Hierarchy
- Highlight key elements using larger fonts, bold styles, or contrasting colors.
- Use whitespace effectively to draw attention to important content.
Step 6: Use Consistent Color Schemes
- Choose a color palette that aligns with the publication’s branding.
- Apply colors consistently to text, backgrounds, and graphics.
Step 7: Review and Refine
- Ensure that text is aligned and images are properly cropped.
- Check for balance and symmetry across both pages.
Step 8: Export for Publishing
- Export the spread as a PDF or other desired format.
- Ensure the resolution and color settings are suitable for print or digital use.
Conclusion:
A two-page spread designed in Adobe InDesign combines structure, visuals, and text into a cohesive layout. By following these steps, you can create engaging and professional spreads for any publication.
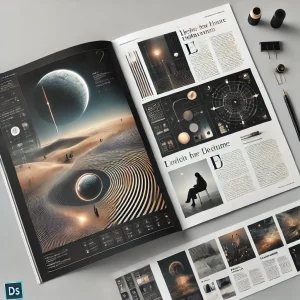
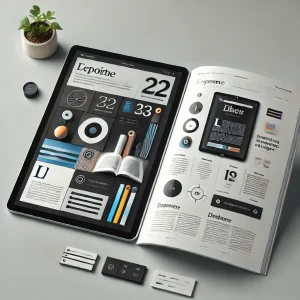
Image
- The generated image showcases a clean and professional two-page spread layout, ideal for magazines and publications.
Happy
0 %
Sad
0 %
Excited
0 %
Sleepy
0 %
Angry
0 %
Surprise
0 %
Average Rating