Designing a Captivating Magazine Cover in Adobe InDesign
Creating an eye-catching magazine cover is essential to draw readers in. Adobe InDesign offers powerful tools for designing covers that stand out. Follow these steps to create a professional magazine cover layout:
Step 1: Set Up Your Document
- Open InDesign and create a new document.
- Adjust the size and margins to match standard magazine dimensions.
Step 2: Choose a Strong Visual
- Select a high-quality image or graphic as the cover’s focal point.
- Place it on the page using the Place Tool (File > Place).
Step 3: Add a Title and Subtitles
- Use the Text Tool to create a bold title.
- Add subtitles for teasers or highlights, aligning them strategically to complement the main image.
Step 4: Incorporate Branding Elements
- Include the magazine’s logo and issue number.
- Use consistent typography and colors to maintain brand identity.
Step 5: Use Guides for Alignment
- Enable rulers and guides to ensure elements are well-aligned.
- Use the Align Panel for precision.
Step 6: Add Visual Enhancements
- Experiment with overlays, gradients, and textures to add depth.
- Use the Effects Panel for drop shadows or blending options.
Step 7: Review and Finalize
- Proofread all text and check the alignment of elements.
- Export the file in high resolution for printing or digital distribution.
Conclusion:
A well-designed magazine cover in Adobe InDesign can set the tone for the entire publication. By focusing on layout, typography, and visuals, you can create covers that captivate readers and establish a strong visual identity.
Image
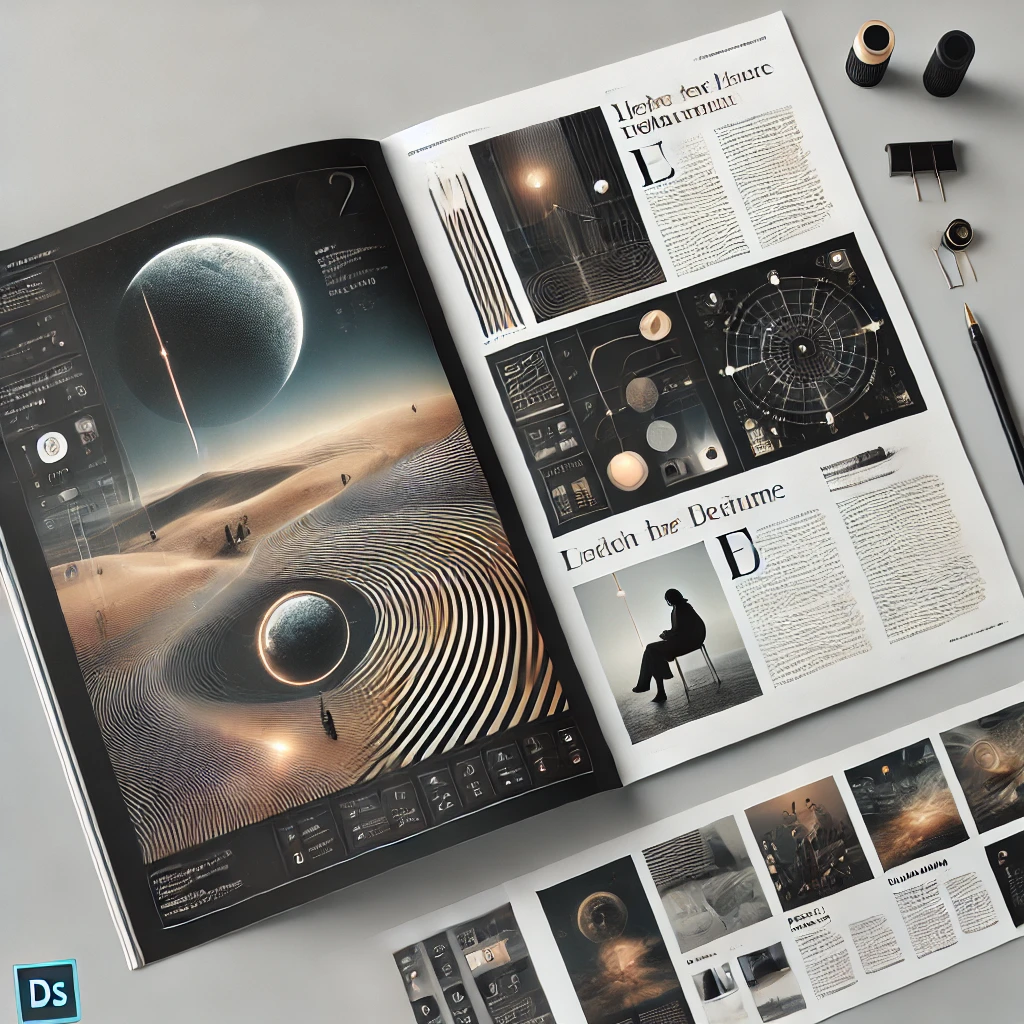
- The image generated above showcases a modern and professional magazine layout, featuring clean typography and dynamic visual elements.
More Stories
Crafting an Engaging Product Catalog in Adobe InDesign
A well-organized product catalog can showcase your offerings effectively and leave a lasting impression on customers. Adobe InDesign provides robust...
Designing a Professional Business Card in Adobe InDesign
A professional business card reflects your brand identity and leaves a lasting impression. Adobe InDesign offers excellent tools to create...
Creating an Eye-Catching Flyer in Adobe InDesign
Flyers are an excellent way to promote events, services, or products. Adobe InDesign makes it easy to design professional and...
Designing a Modern Brochure Layout in Adobe InDesign
Brochures are powerful tools for communicating brand messages and providing information in a visually appealing way. Here’s how to create...
Designing an Engaging Newsletter Layout in Adobe InDesign
Creating an engaging newsletter layout is essential for effectively communicating information while keeping readers interested. Here’s how to design a...
Crafting a Cohesive Multi-Page Layout in Adobe InDesign
Designing a cohesive multi-page layout is essential for creating professional magazines, reports, or brochures. Adobe InDesign provides robust tools to...

Average Rating