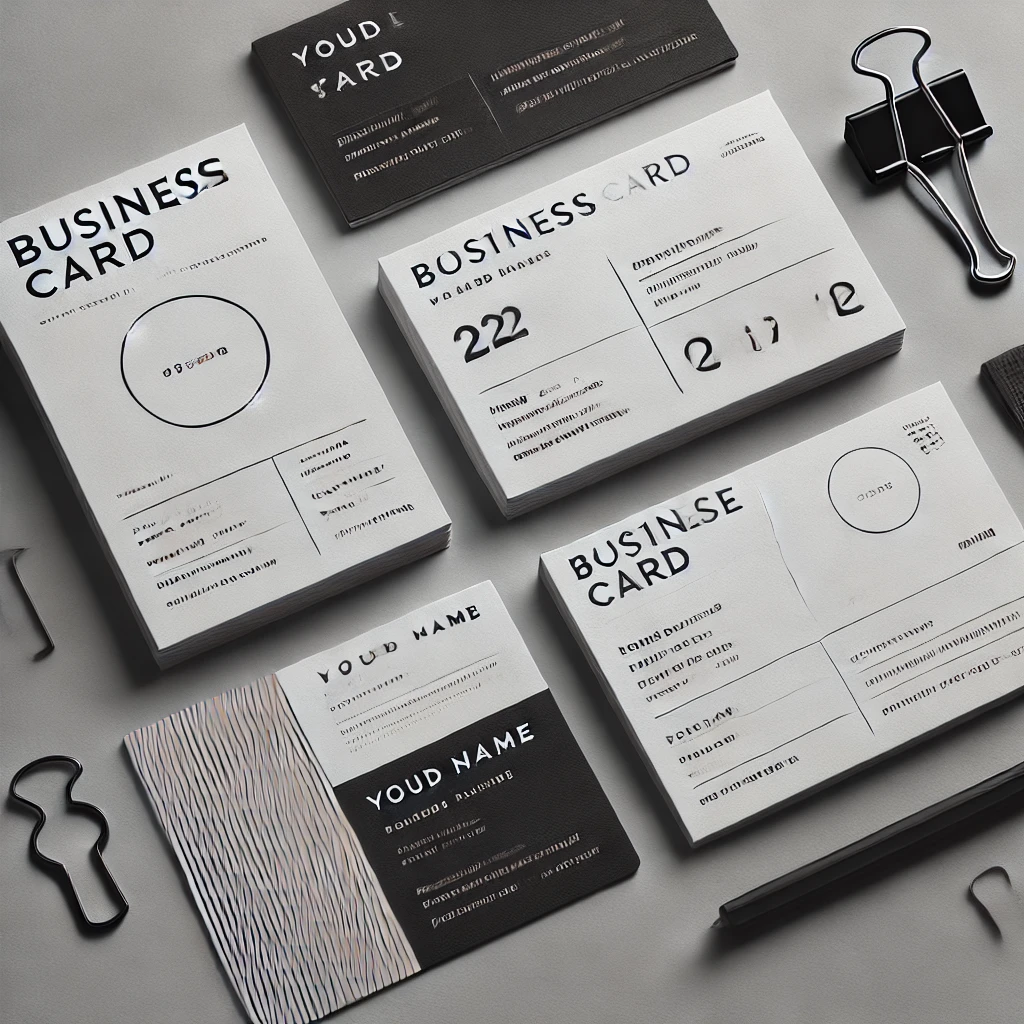
Designing a Professional Business Card in Adobe InDesign
Read Time:1 Minute, 35 Second
A professional business card reflects your brand identity and leaves a lasting impression. Adobe InDesign offers excellent tools to create sleek and modern business cards. Here’s how to design one step by step:
Step 1: Set Up Your Document
- Open InDesign and create a new document.
- Set the dimensions (e.g., 3.5 x 2 inches) with bleed for printing.
- Ensure margins are defined to keep elements away from the edges.
Step 2: Add a Background or Base Design
- Use the Rectangle Tool to create a solid or gradient background.
- Choose colors that align with your brand’s identity.
Step 3: Insert Your Logo
- Import your logo using File > Place.
- Position it prominently, usually on the left or top corner of the card.
Step 4: Add Contact Details
- Use the Text Tool to add your name, title, phone number, email, and website.
- Ensure consistent alignment and spacing for a clean look.
Step 5: Choose Professional Typography
- Select a legible and professional font.
- Use bold or larger fonts for your name and smaller ones for additional details.
Step 6: Align Elements
- Use Guides and the Align Panel to ensure all elements are well-positioned.
- Maintain enough whitespace for a clutter-free design.
Step 7: Add Visual Enhancements
- Incorporate subtle design elements, such as lines or icons, for a modern touch.
- Use the Effects Panel to add drop shadows or highlights.
Step 8: Proof and Finalize
- Review for typos and ensure that the design looks balanced.
- Check for proper alignment of text and graphics.
Step 9: Export for Printing
- Export as a print-ready PDF with bleed settings.
- Provide the file to your printer with specific instructions for finishes, such as matte or glossy.
Conclusion:
A well-designed business card in Adobe InDesign can elevate your brand and make a great first impression. By focusing on simplicity, alignment, and branding, you can create a card that stands out.


Average Rating