Designing an Elegant Invitation Card in Adobe InDesign
Read Time:1 Minute, 27 Second
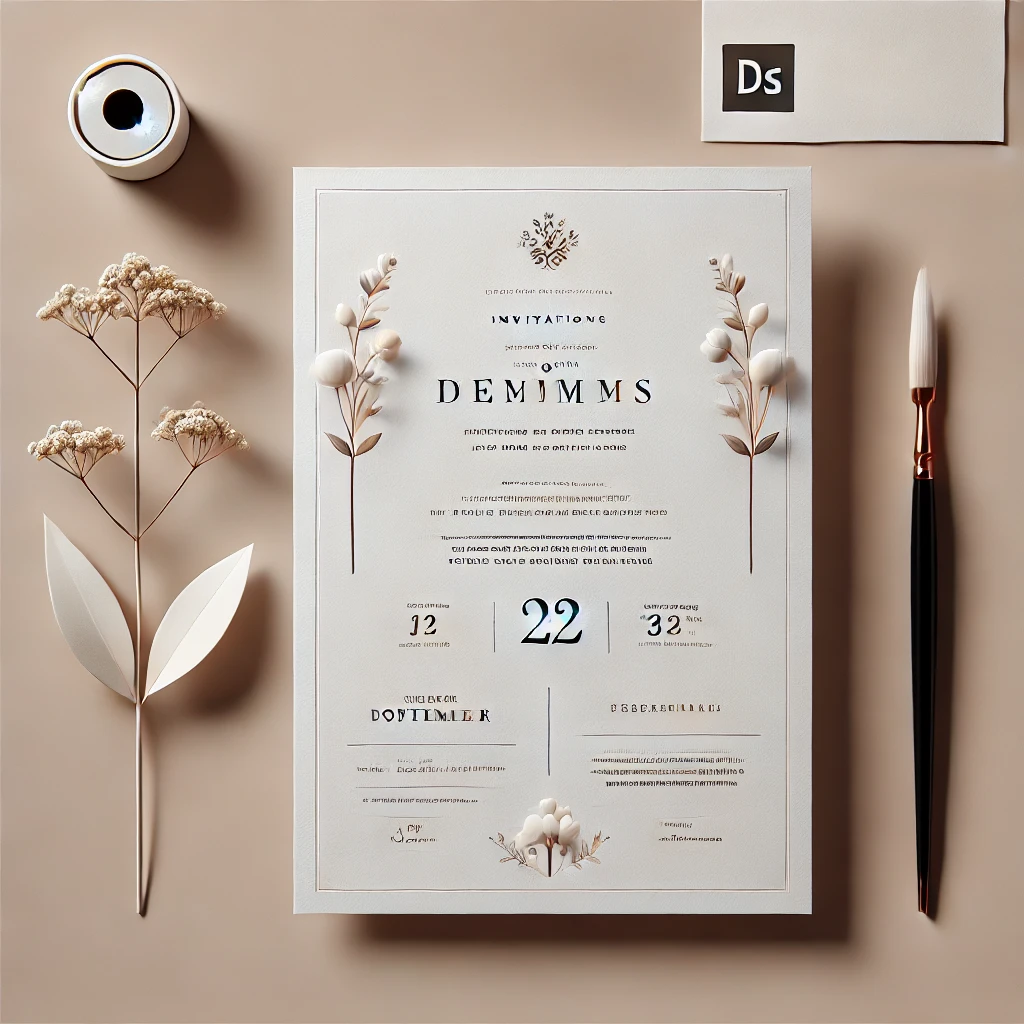
An invitation card sets the tone for events, whether formal, casual, or celebratory. Adobe InDesign offers the perfect tools to create elegant and personalized designs. Here’s how to craft one step by step:
Step 1: Set Up Your Document
- Open InDesign and create a new document.
- Choose standard invitation card dimensions, such as 5 x 7 inches.
- Add margins and bleed settings for precise printing.
Step 2: Select a Theme
- Decide on a theme that reflects the event, such as minimalistic, vintage, or modern.
- Use colors and fonts that align with the theme.
Step 3: Design the Layout
- Create sections for the event name, date, time, and location using Text Frames.
- Keep ample white space for a clean and elegant look.
Step 4: Add Decorative Elements
- Use lines, borders, or subtle patterns for a sophisticated touch.
- Incorporate decorative motifs that match the event’s style.
Step 5: Choose Elegant Typography
- Select serif or script fonts for a formal invitation.
- Use Paragraph Styles to maintain consistency.
Step 6: Include Key Details
- Highlight the event name and date with larger font sizes.
- Ensure all text is legible and well-spaced.
Step 7: Add Personal Touches
- Include the host’s name or a short message.
- Add a logo or monogram for branded events.
Step 8: Proof and Finalize
- Review the design for typos and alignment issues.
- Adjust spacing and color contrasts as needed.
Step 9: Export for Printing
- Export the card as a high-resolution PDF with bleed settings.
- Share the file with your printer for a professional finish.
Conclusion:
A thoughtfully designed invitation card in Adobe InDesign not only informs but also excites guests about the event. By focusing on layout, typography, and decorative details, you can create invitations that impress.


Average Rating