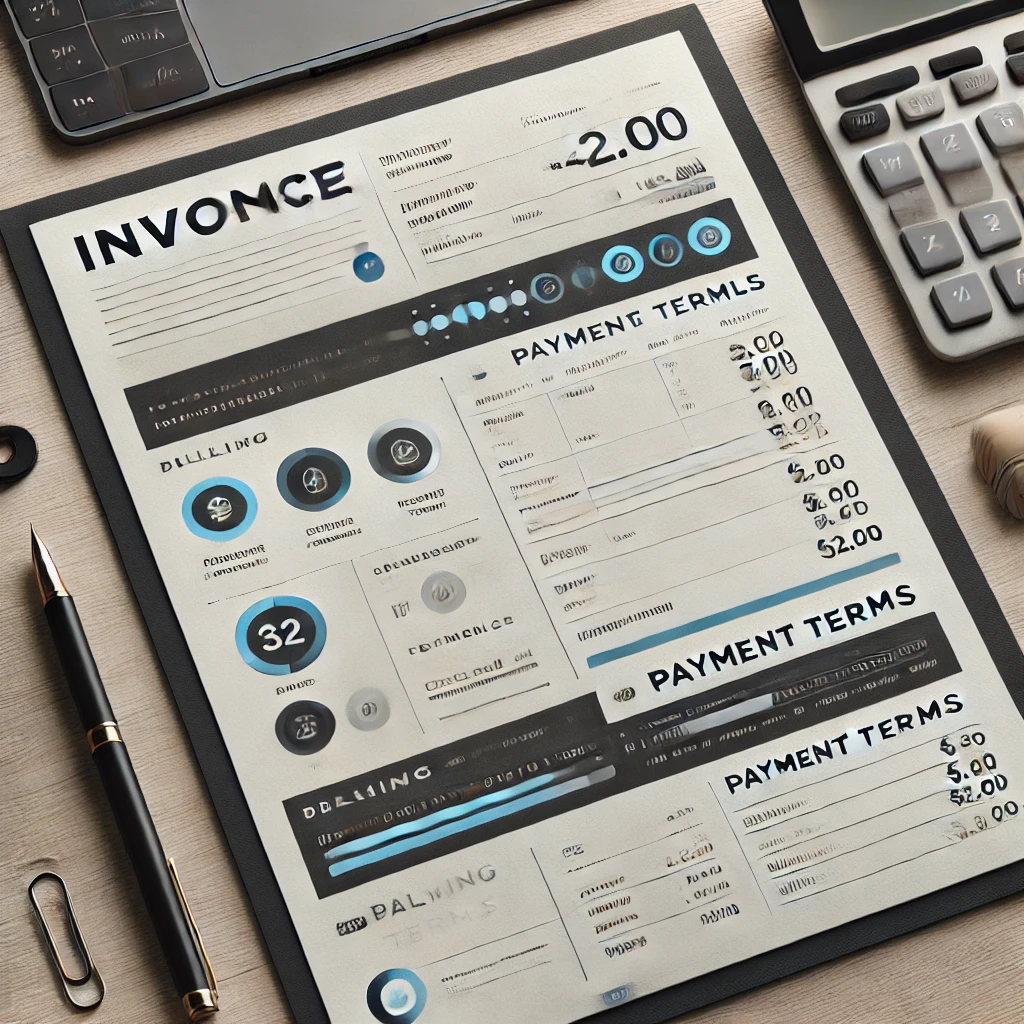
Designing a Professional Invoice in Adobe InDesign
Read Time:1 Minute, 24 Second
Invoices are vital documents for businesses, combining professionalism with clear communication. Here’s how to design an efficient and visually appealing invoice using Adobe InDesign:
Step 1: Set Up the Document
- Open InDesign and create a new document.
- Use standard dimensions for invoices, such as A4 or Letter size.
- Set margins for proper spacing.
Step 2: Add a Header
- Include the company logo and name at the top of the page.
- Use the Text Tool to add contact details, such as address, phone, and email.
Step 3: Create Sections for Billing Details
- Divide the document into sections for the invoice number, date, and recipient information.
- Use grids and guides to ensure alignment.
Step 4: Design a Table for Itemized Details
- Use the Table Tool to create rows for descriptions, quantities, rates, and totals.
- Style the table with alternating row colors for better readability.
Step 5: Add Payment Terms and Notes
- Include a section at the bottom for payment terms, due date, and additional notes.
- Use smaller font sizes to differentiate these details from the main content.
Step 6: Apply Typography and Colors
- Use professional fonts like sans-serif for a clean look.
- Incorporate brand colors in headers, lines, or accent areas.
Step 7: Proof and Finalize
- Review the layout for accuracy and alignment.
- Ensure all elements are visually balanced and easy to read.
Step 8: Export for Use
- Export the invoice as a PDF for printing or digital sharing.
- Test the file for compatibility across different platforms.
Conclusion:
A well-designed invoice not only ensures clarity but also reflects your brand’s professionalism. By focusing on structure, typography, and branding, you can create an invoice that is both functional and visually appealing.


Average Rating