Designing a Professional Tri-Fold Brochure in Adobe InDesign
Read Time:1 Minute, 32 Second
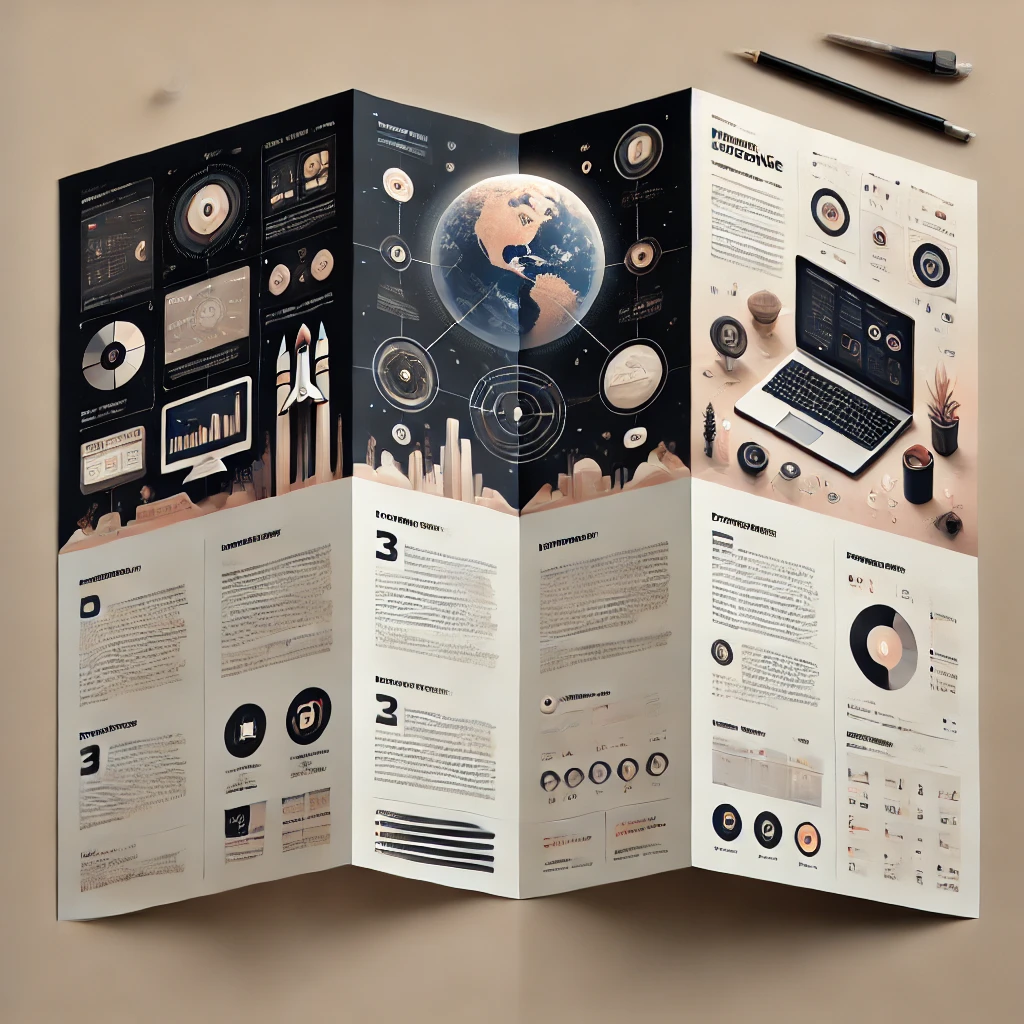
A tri-fold brochure is an effective way to present information in a compact and organized format. Here’s a step-by-step guide to designing a professional tri-fold brochure using Adobe InDesign:
Step 1: Set Up the Document
- Open InDesign and create a new document.
- Set the page size to fit standard tri-fold dimensions (e.g., 8.5 x 11 inches).
- Add three equal columns using Layout > Margins and Columns.
Step 2: Define a Grid System
- Use guides to separate the three panels clearly.
- Ensure proper alignment for folds and margins.
Step 3: Add a Compelling Cover
- Design the front panel with an attention-grabbing image or headline.
- Include the logo and a brief tagline.
Step 4: Structure the Content
- Use the inner panels to organize key information, such as services, products, or event details.
- Add headings, subheadings, and bullet points for easy readability.
Step 5: Insert Images and Graphics
- Import high-quality images using File > Place.
- Align visuals to enhance the design and break up text sections.
Step 6: Apply Typography Styles
- Create Paragraph Styles for headings, body text, and captions.
- Use consistent fonts and sizes throughout the brochure.
Step 7: Add Call-to-Action (CTA)
- Include a prominent CTA on the back panel, such as contact information, website links, or QR codes.
- Use bold colors or frames to highlight the CTA.
Step 8: Review and Proofread
- Check for alignment, spacing, and typos.
- Ensure all design elements are cohesive and balanced.
Step 9: Export for Print or Digital Use
- Export the brochure as a print-ready PDF with bleed settings.
- Optimize the file for digital sharing if needed.
Conclusion:
A professionally designed tri-fold brochure in Adobe InDesign can effectively communicate your message while maintaining a polished appearance. By focusing on layout, visuals, and typography, you can create brochures that stand out.


Average Rating