
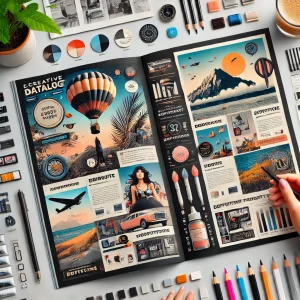
Designing a High-Impact Poster in Adobe InDesign
Read Time:1 Minute, 22 Second
Creating a visually striking poster is essential for promoting events, products, or campaigns. Here’s how to design a high-impact poster using Adobe InDesign:
Step 1: Set Up the Document
- Open InDesign and create a new document.
- Choose standard poster dimensions (e.g., 18 x 24 inches) or customize the size to fit your needs.
- Set bleed margins for printing.
Step 2: Add a Bold Headline
- Use the Text Tool to create an attention-grabbing headline.
- Select a bold font and adjust the size for prominence.
Step 3: Incorporate Vibrant Colors
- Use the Swatches Panel to choose a bright and engaging color palette.
- Apply colors to the background, text, and graphic elements.
Step 4: Include Eye-Catching Visuals
- Import high-resolution images or graphics using File > Place.
- Use the Rectangle Frame Tool to position visuals effectively.
Step 5: Organize Text and Details
- Add key information like event details, dates, or contact info.
- Align text using grids and guides for a clean and organized layout.
Step 6: Enhance with Design Elements
- Use shapes, lines, or patterns to add depth and interest.
- Experiment with shadows and gradients using the Effects Panel.
Step 7: Review and Finalize
- Proofread text and ensure all elements are properly aligned.
- Adjust the layout for balance and visual hierarchy.
Step 8: Export for Printing
- Export the poster as a print-ready PDF with bleed settings.
- For digital distribution, save in formats like PNG or JPG.
Conclusion:
A well-designed poster in Adobe InDesign can effectively communicate your message while grabbing attention. By focusing on layout, color, and typography, you can create posters that stand out and leave a lasting impression.
Happy
0 %
Sad
0 %
Excited
0 %
Sleepy
0 %
Angry
0 %
Surprise
0 %
Average Rating