Crafting an Informative and Attractive Flyer in Adobe InDesign
Read Time:1 Minute, 23 Second
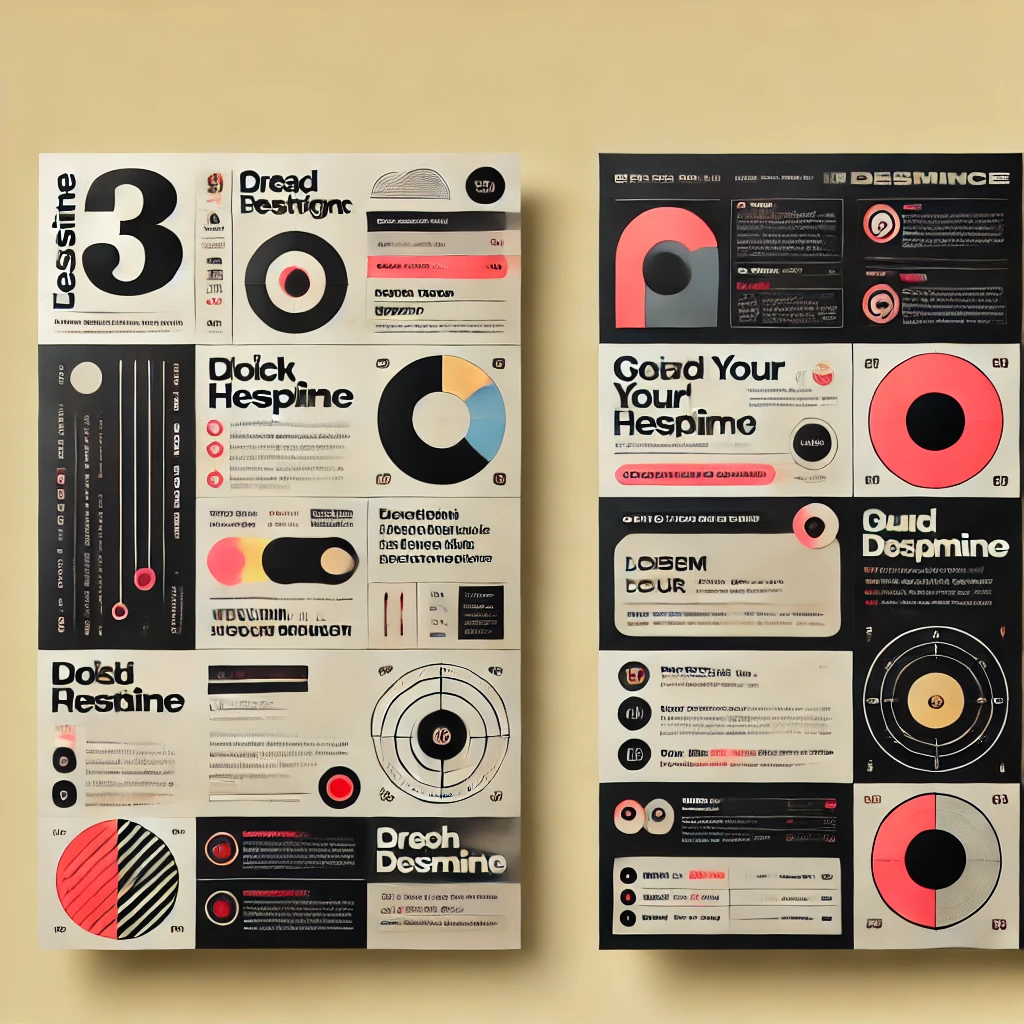
Flyers are versatile tools for promoting events, products, or services. Adobe InDesign allows you to create eye-catching designs with ease. Here’s how to design an effective flyer:
Step 1: Set Up Your Document
- Open InDesign and create a new document.
- Select dimensions based on the flyer size, such as A4 or Letter.
- Set bleed margins for printing accuracy.
Step 2: Choose a Layout Grid
- Use Layout > Create Guides to create a grid for organizing text and visuals.
- Ensure balanced spacing for a clean and structured design.
Step 3: Add a Bold Headline
- Use the Text Tool to create a headline that grabs attention.
- Choose a bold font and position it prominently.
Step 4: Insert Visuals
- Import high-resolution images or graphics using File > Place.
- Align visuals with the grid for consistency.
Step 5: Organize Information
- Divide the flyer into sections, such as event details, highlights, or contact information.
- Use text boxes for concise and readable content.
Step 6: Use Vibrant Colors
- Select a color palette that aligns with the purpose of the flyer.
- Apply colors to text, backgrounds, and accents to enhance visibility.
Step 7: Enhance with Shapes and Effects
- Add shapes or lines to separate sections or highlight key points.
- Use the Effects Panel for drop shadows or transparency effects.
Step 8: Review and Export
- Proofread text for clarity and ensure alignment of elements.
- Export the design as a print-ready PDF or a digital file for sharing.
Conclusion:
A well-designed flyer created in Adobe InDesign effectively conveys your message while capturing attention. By focusing on layout, typography, and visuals, you can design flyers that are both informative and visually appealing.
Happy
0 %
Sad
0 %
Excited
0 %
Sleepy
0 %
Angry
0 %
Surprise
0 %
Average Rating